CV Creator is an automated curriculum vitae (CV) generator which uses TOML templates.
Its primary usage is to standardize Expert Analytics' (XAL) employee CVs, but it can be used for creating CV without the company branding for private use as well.
Table of Contents
The main CV Creator tool is created in Python and can be install through pip. See this guide for help to get pip working on your system.
With this repository cloned to disk, and Python and pip in place, install CV Creator through:
pip install cvcreatorThe tool depend on a working installation of Latex:
- Windows -- Install Miktex.
- Debian/Ubuntu -- run
sudo apt-get install texlive-latex-extra texlive-lang-european. - Arch -- run
sudo pacman -Syu texlive-latexextra texlive-lang. - Mac OSX -- Install Homebrew and run
brew install --cask mactex.
Start by creating a simple example:
cv example example.tomlEdit the resulting example.toml file with your favorite text editor. This is the content file which will be inserted into the final CV output. The different sections should be self-explanatory.
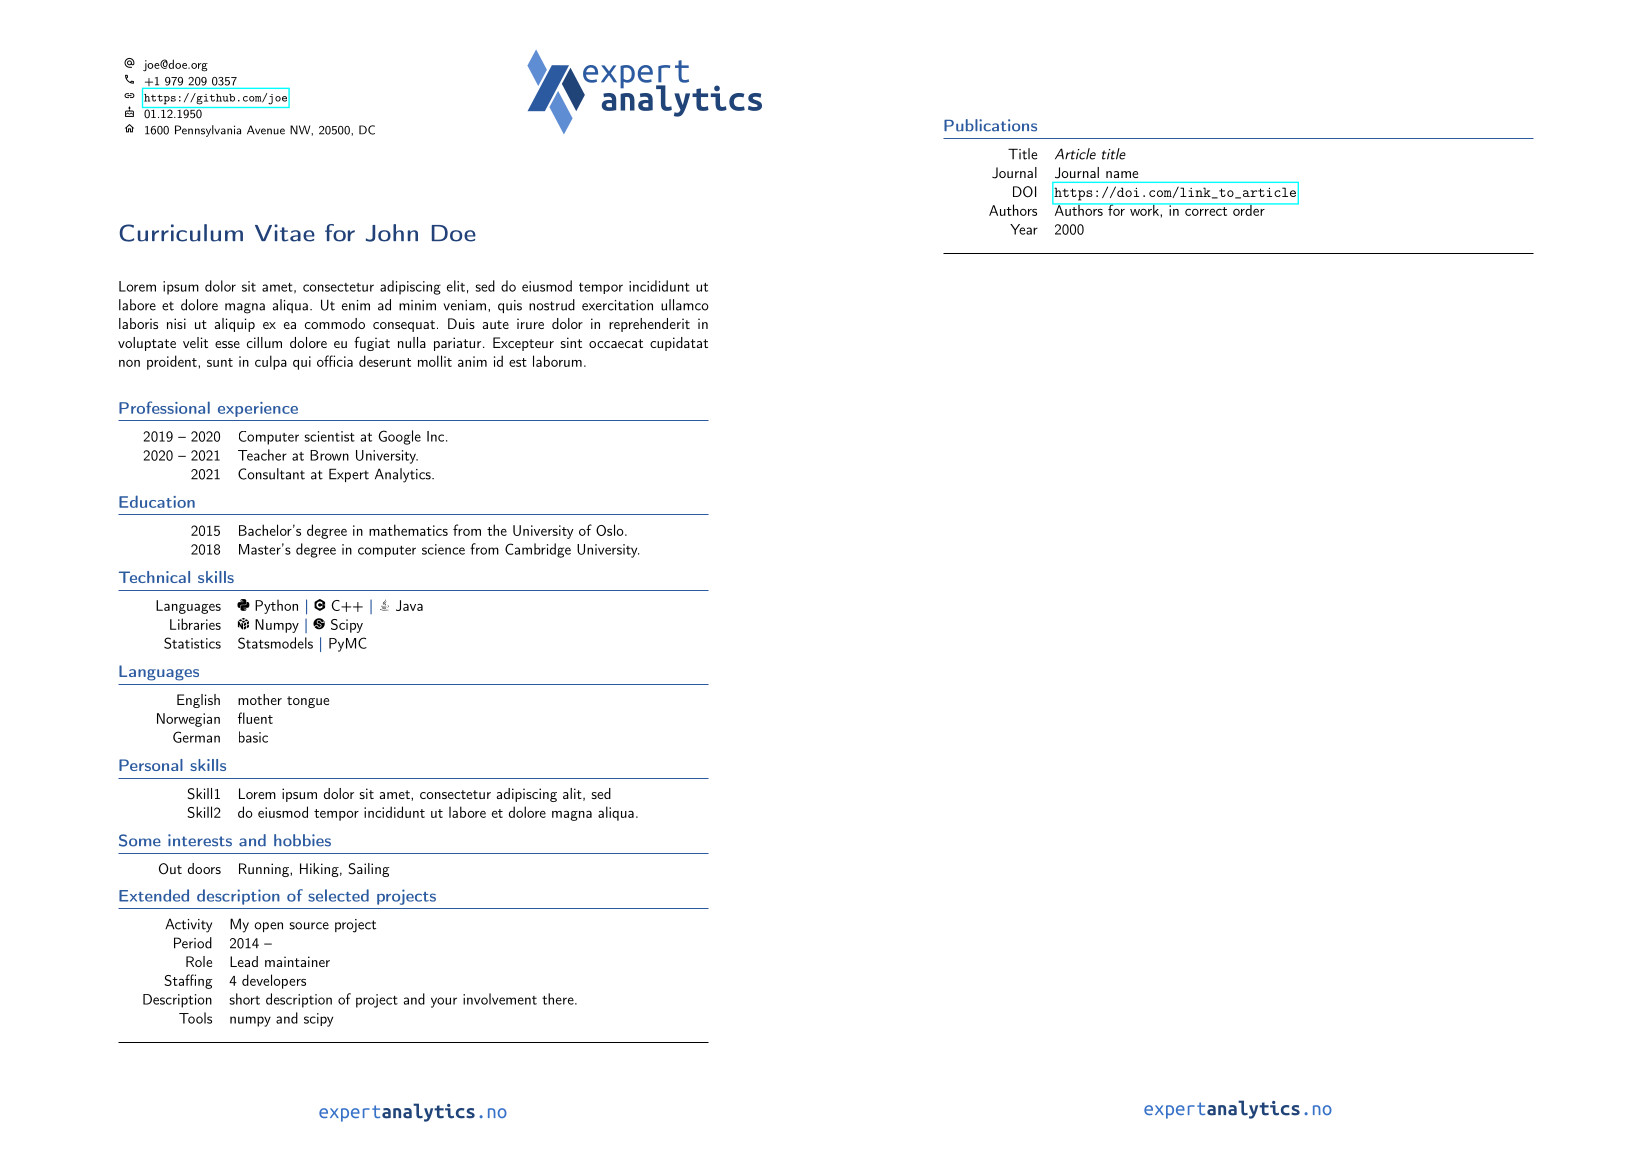
With the content ready, create a CV with:
cv create example.toml my_new_cv.pdfIt will look something like this:
To include projects/publications use the flag --publications/--projects. These flags must be followed by specific tags present in the toml content file:
cv create example.yaml --projects "A1,A2" cv create example.yaml --publications "P1,P2"The projects/publications will be added in selected order. Alternatively, use a colon : to include all entries.
cv create example.yaml --publications :Note
You will need to add flags to include projects and publications. If omitted none will be include.
There are currently two components that are Expert Analytic:
- The logo image in the upper right corner of the first document.
- The footer image on each page.
These two elements can be overridden through the .toml content file. Add the following two lines to the top of the file (outside a title scope):
logo_image = "path/to/image.png"footer_image = "path/to/image.png"These can be any images, but it perhaps makes sense that the logo_image is a personal photo when using the tool privately.
To be able to do statistics on various skills, the list of allowed skills is limited to a predefined list. To quickly list what skills are allowed, and their spelling, see:
cv skills
In addition, some skills have badges that can be activated during document creation using the --badges flag with e.g. cv create and cv latex. To list which skill can produce an icon, see:
cv skills --badges
If a skill is missing, or a skill is written in an incorrect way, please either file an issue or make a request with the proposed change. In the latter case, the changes can be made to the file: cvcreator/data/tech_skills.toml.
In addition, if there is a badge that is missing (or needs replacing) here is useful checklist:
- Find a badge candidate, consisting of simple pure black vector graphics formatted as a
.pdffile. Be wary that some tools will convert vector graphics to raster when coverting. - There should not be any copyright issues with the badge. Most badges are currently CC0.
- Place the badge in the folder
cvcreator/icons. - Except for the
.pdfextension, the name must exactly match that of the badge trigger. This means include capitalized letters and spaces.
The project uses poetry to manage its development installation. Assuming poetry installed on your system, installing cvcreator for development can be done from the repository root with the command:
poetry installThis will install all required dependencies and cvcreator into a virtual environment. To enter the create environment, run:
poetry shellAfterwards exit with:
exitTo ensure that the code run on your local system, run the following:
poetry run pytest --doctest-modules cvcreator/ test/Releases to PyPI (the repository used when using pip install) is created and deployed automatically when making a tagged released. To do so you need to:
- Update and push a new version number in
pyproject.tomlto branchmaster.
After merging to master, the workflow creates the tag and Github release for this version and uploads its wheel file to Pypi.